


GreenFuchs
GreenFuchs | Front Bumper Gap Repair Kit V2 | Gap Reducer V2 | GT86 & BRZ |
GreenFuchs | Front Bumper Gap Repair Kit V2 | Gap Reducer V2 | GT86 & BRZ |
- Stock items (2-4 days shipping time)
You will receive €2,58 Guthaben when you purchase this item.
Couldn't load pickup availability
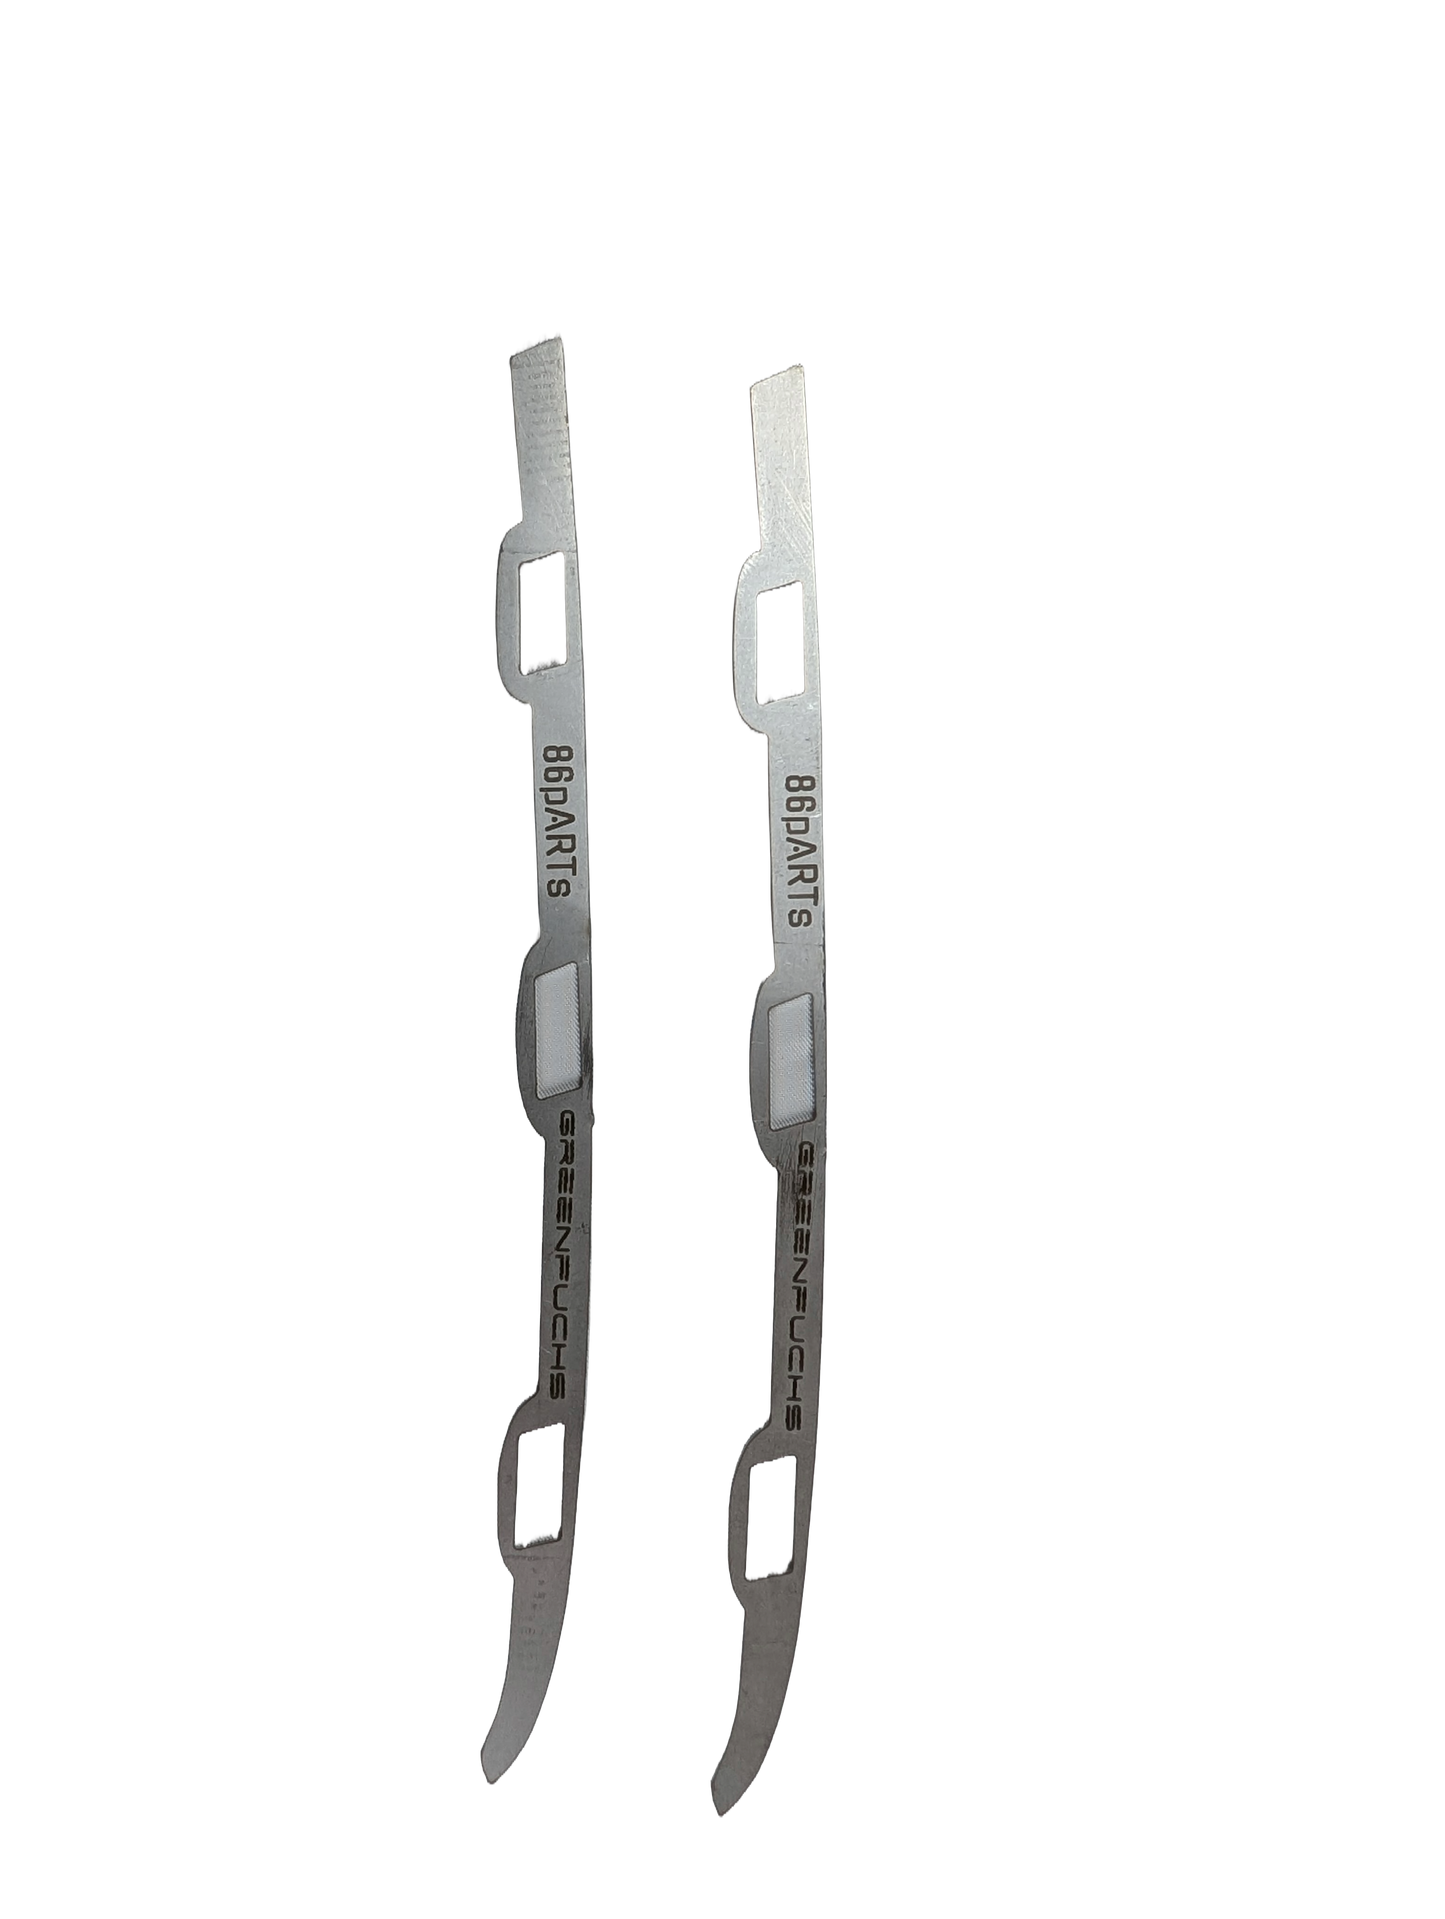
GreenFuchs Front Bumper Gap Repair Kit – V2 Update
With the new V2 version, we have implemented your feedback and significantly improved the technical design of the kit. The front now sits more securely and tightly than before.
New features of the V2 version
-
Optimized tolerances on the metal tabs for more precise fitment
-
New plastic insert for significantly stronger clamping
-
Improved long-term stability through more defined guidance and greater holding force
Note: Due to the stronger clamping effect, the front can still be removed, but with greater care. We now use a 3D-printed insert over which you must stretch the tabs. This insert will wear out after numerous removals and will soon be available as an affordable replacement part. In our opinion, this is the best solution to achieve a compromise between optimal hold and long-term durability. - Now also with clips for the adhesive panels to serve as supports during curing.
Features
-
Massively improved front bumper fixation
-
Reduced play and significantly better gap stability
-
Suitable for Toyota GT86, Subaru BRZ and Scion FR-S Pre-Facelift (2012–2016)
-
Mounting on the original mounting points
-
V2 version with increased clamping effect
-
Required 2K epoxy adhesive not included
Compatibility
-
Toyota GT86 (2012–2016)
-
Subaru BRZ (2012–2016)
-
Scion FR-S (2012–2016)
For widebody bumpers with missing OEM mounting points (e.g. Rocketbunny), the kit is usually not usable.
Installation notes
-
A high-quality 2K epoxy adhesive is required (not included).
-
Good weather facilitates curing.
-
The OEM mount must be removed, and a small cut in the plastic headlight trim is also required. Everything remains invisible from the outside, but the modification is permanent.
-
The kit noticeably improves stability in practice, but does not replace completely destroyed or severely warped bumper mounts.
For facelift models, the adhesive panels must be modified and the bracket slightly bent. The current version does not fit the facelift model as is! We are working on our own facelift version. Until then, this kit can still be a good starting point for DIY enthusiasts.
For front bumpers from widebody kits (e.g. Rocketbunny), this kit usually does not fit due to the missing original mounting points.
You can find our installation instructions here. You will also need a reliable adhesive for the adhesive panels (not included). We recommend 2K epoxy adhesive and good weather so that the adhesive can cure. Here is the English version.
Please also note that to install this kit, you must remove the original mount and cut into the plastic headlight trim. Neither is visible from the outside—but they are major and irreversible modifications.
The kit cannot work miracles! If a bumper mount is damaged or simply bent from age, even this kit will not be able to repair it 100%. The insert on the bumper helps, but there is no guarantee that it will look like new. Generally, based on our experience, we can achieve a noticeable improvement with the kit in about 90% of cases, but unfortunately not everywhere. Fine-tuning at the end is also essential and simply a matter of hard work.
Share


- 5 stars: 3 (60%)
- 4 stars: 2 (40%)
- 3 stars: 0 (0%)
- 2 stars: 0 (0%)
- 1 star: 0 (0%)
Ich habe das Spaltmaß-Kit an meinem 2018er GT86 FL verbaut. Es passt ohne weitere Änderungen. Die Löcher für die Clipse in der Stoßstange sind etwas anders, als beim Vor-Facelift. Da die neue Halterung aber lediglich in das Einklebe-Blech greift, ist das eine versetzte Loch unerheblich. Die Stoßstange des GTs ist aus PP (Polypropylen). Ich habe die Klebestelle vorher leicht abgeflammt, es verbessert den Kontakt vom Kleber zur Stoßstange. Als Kleber habe ich mir einen 2K Kleber für PP besorgt, siehe Fotos. Der hält nun schon seit über 4 Wochen zuverlässig. Um die Halter zu positionieren habe ich die Dicke der Laschen mit einem Meßschieber gemessen, und dann am Fahrzeug mit einer Fühlerlehre den Spalt zwischen Halter und Kotflügel eingestellt. Am Kotflügel habe ich noch dünnen Filz eingeklebt, damit die Stoßstange nicht am Lack scheuert. Es passte auf Anhieb und hält Super.
Mit einem gesunden Menschenverstand innerhalb 1h eingebaut, da ein wenig Plastik an der Scheinwerfer-Halterung entfernt werden muss. Ansonsten Installation verständlich und das Ergebnis sehr gut, bei mir fasst perfekt. Top Artikel!